Goal:
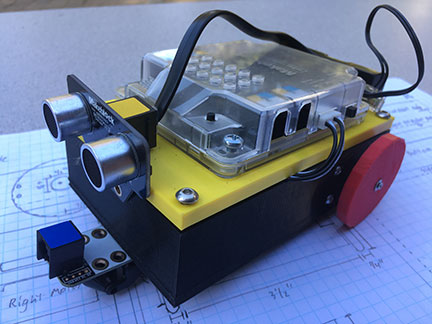
Your goal in this stage is to CAD, print and assemble the body of your robot.
Specifications:
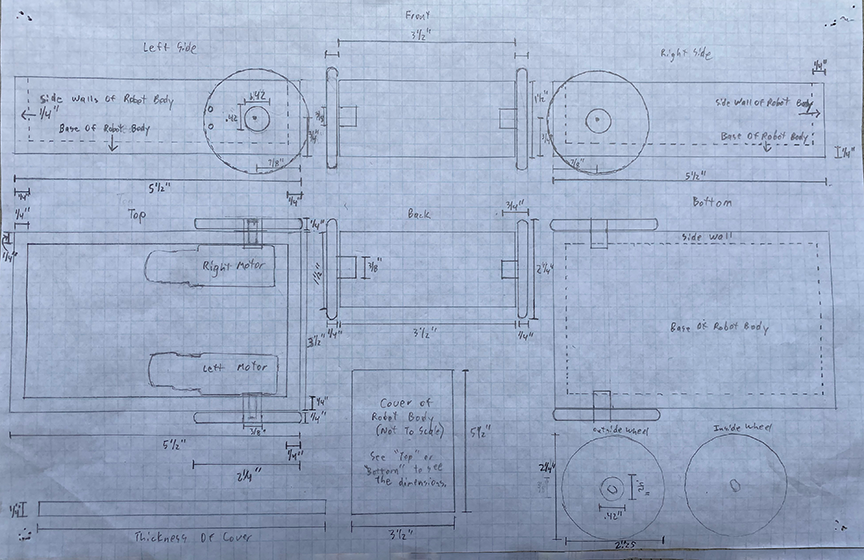
Maximum Car Dimensions: see below.
CAD (Computer Aided Design) – Construct Your Robot Using Tinkercad
Students will view the measurements on the draft paper below and build their “Robot” using Tinkercad. When they are done, they will submit it to the instructor for review.
Build The Body (Tinkercad)
1. View The Final Product: Mobile or You Tube
2. Build The Robot Body: Mobile or You Tube
3. Create The Body Hole: Mobile or You Tube
Create The Wheel (Tinkercad)
I created the connector for your wheel. All you need to do is create the wheel in Tinkercad and attach the connector. There are two files you will need, 1.The Connector, and 2. The Hole. You can "Download" them here (Connector and Hole).
- First, create the Wheel in Tinkercad.
- Second, import the Connector & Hole files into Tinkercad. 1st center and Group the Connector, and then 2nd center and Group the Hole. I made this video to quickly show you how to do it: Mobile You Tube.
Assemble Robot
After the instructor prints the robot chasis and cover, he will provide the students with everything necessary to assemble it.
Robot Assembly Guide: Click here!